
Everybody should carry a small, personal first aid kit when out adventuring, but it doesn’t need to be overly large or expensive to handle the most common injuries experienced while being active outdoors. The kit we will talk about today could be easily put together by supplies you have on hand at home or for very low cost.
I started making these improvised first aid kits as an ocean Lifeguard when resources weren’t available or budgets were tight. One quart or gallon freezer storage bags were used because they were cheap and didn’t have metal fasteners that could rust. Often the zippers on issued equipment like trauma bags and fanny packs quickly corroded and seized in the marine environment we worked in making “fancier” equipment useless.
It was easy to throw together a basic first aid kit for a guard to keep in the pocket of their board shorts and it would stay dry even if they were making water rescues. It was kept small with the idea of being replenished after an incident or as needed by passing patrol vehicles. This version is to take care of yourself while on a few day trip or vacation.
The contents of these kits will address the most common injuries sustained on a trip outdoors such as minor cuts, scrapes or blisters. This is basically for your everyday annoying boo-boos and can be kept handy in a pocket of your clothing or in the top of your pack. Obviously severe sprains, strains, broken bones or hemorrhaging are going to require more advanced equipment and skills.
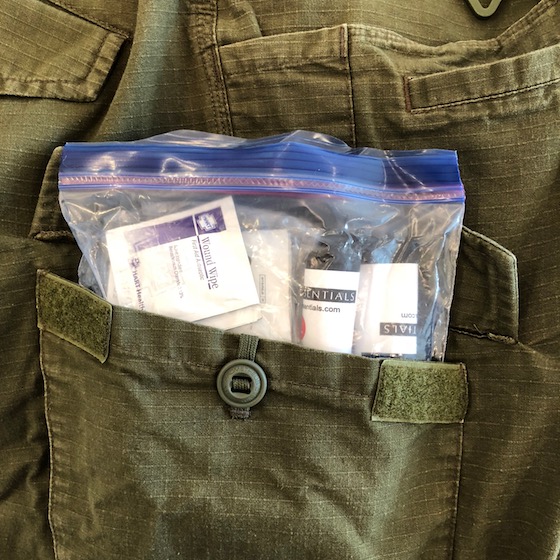
The container- One quart freezer bags make great pouches for organizing a small individual first aid kit due to their low cost, resiliency and tight seal. The freezer bags are thicker and will hold up better in your bag or cargo pocket. If it starts to show signs of wear, just switch it out from the box you no doubt have in the kitchen.
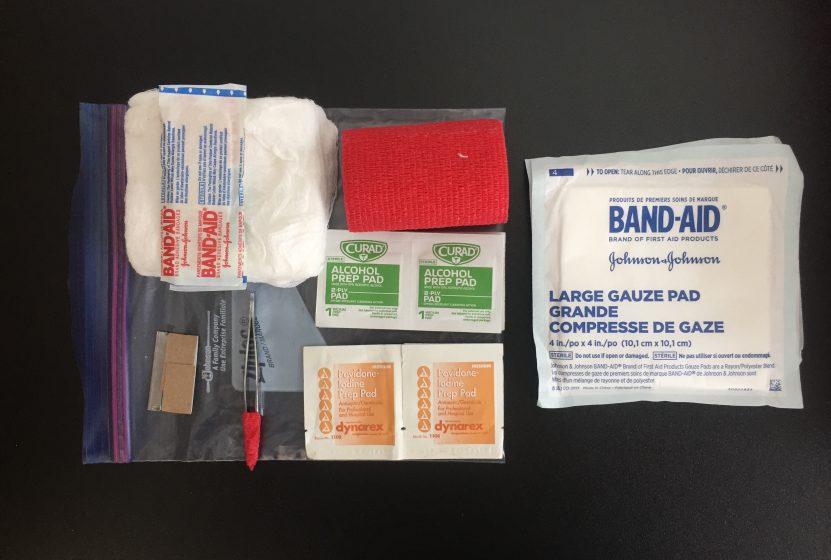
Contents:
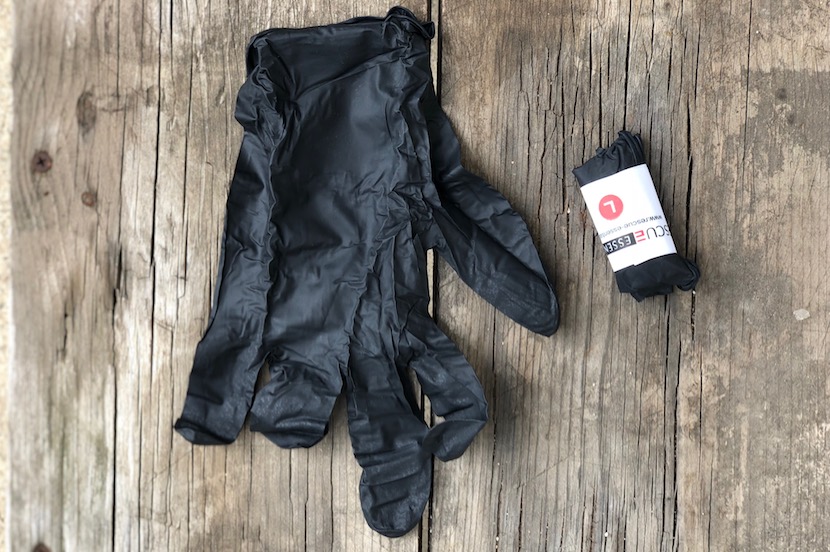
Nitrile Gloves– Nitrile gloves provide a hypoallergenic barrier for your hands and are normally pretty cheap and can be found in pairs that are rolled up for easy storage. Normally I wouldn’t be too worried about PPE if I were just treating myself, but if you are out on the trail and have dirty or cut hands or are treating someone you don’t know it’s always a good idea to glove up. This protect both you and the other person.
When you are done treating the injury, place all of the dirty gauze wrappers etc. in the palm of your gloved hand and SLOWLY peel the glove off until it is inside out. Done correctly you should have all of the trash and any bloody bandages safely wrapped inside the spent glove and you can tie a knot in it and keep everything clean and secure until you can dispose of it properly.
4×4 gauze (10 or so) – The non-sterile pads are perfect for cleaning wounds and can be folded or cut to fit specific injury sites like fingers and toes.
Sterile gauze pads (4 or up to as many as your trip is long)- These can be used as the final bandage once a wound has been cleaned and is ready to be dressed. Leave the dressing as is or change as needed.
Coban (one roll)- Coban made by 3M is the duct tape of medical gear. You can also find it in pharmacies or retailers as “sport wrap”. It is easy to tear, flexible, waterproof and only sticks to itself making it great for dressings even on areas that see a lot of movement like joints. You can also use it on animals since it won’t adhere to skin or fur.
Used in conjunction with gauze pads as a dressing it can be made to fit almost any injury site. Non latex, hypoallergenic version are also available. Flatten the roll for packing. (For more info on Coban check our previous DRB gear review)
Band Aids– I’m not a big user of band aids, but they do have their place covering small wounds and blisters. I usually only carry a few depending on the duration of a trip.
Medical tape– a small roll of medical tape doesn’t take up much space, but honestly I use Coban in place of tape 99% of the time.
Disinfectant– You should always clean a wound, especially in the outdoors. Individual packets of alcohol, iodine and neosporin are available for just a few cents a packet.
Tweezers and razor blade– I always bring these two items to remove splinters, torn skin and on one surf trip, urchin spines. Just be sure you give them a good wipe down with you alcohol pads prior to use. (you can store them inside the flattened Coban tube)
And that’s it !
Small, inexpensive and versatile- you could probably rummage the majority of these items from your house with maybe the exception of a roll of Coban which is about $4.00.
***One final word on medical gear: The most important thing you can do is receive proper 1st aid training. The most expensive gear in the world is either useless or dangerous without the right training and practice.
