

On a recent camping trip with friends, we made fresh-baked backcountry biscuits for breakfast. After mentioning this to others, it became apparent that both the method and recipe is little known, or at a minimum, not readily available.
you can augment the basic mix with locally sourced berries for a breakfast focused side dish or with grated cheese for a hearty dinner accompaniment. Your imagination is the only limit on where you can take this technique.
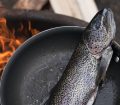
Anyone who regularly goes into the bush for any length of time knows that most camping food leaves a lot to be desired. We spend a lot of time off-grid, and thus occasionally like to indulge in some comfort food. We’ve been experimenting with a Chinese cooking technique, adapted to our Bushcrafting endeavors and gear, and feel it worthy to share.
As we set out to find a way to improve our field cuisine, a couple stipulations came to mind:
1. Minimally complicated: the method had to be fool proof when cold, hungry, resource limited, and as mess-less as possible.
2. That it require the least amount of specialized gear or add-on ingredients to accomplish the goal.
3. Reasonably quick baking time.
4. Easy to transport/robust packaging.
5. Low/No fuss clean-up.
6. IT HAD TO TASTE GOOD!
So with that said, here’s what we did, and how we did it.
The perfect mix for the perfect biscuits
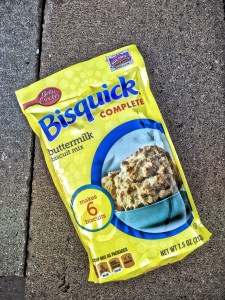
The most efficient method is to use a pre-mixed “add water only” biscuit mix as your base. We have tried more than a few, and have settled on Bisquick Butter for a few reasons: it’s packed in a very sturdy foil-like package, it only needs 1 cup of water to fully reconstitute, the taste is excellent, very low mess/waste, and the cook time is relatively short. Additionally, you can augment the basic mix with locally sourced berries for a breakfast focused side dish or with grated cheese for a hearty dinner accompaniment. Your imagination is the only limit on where you can take this technique.
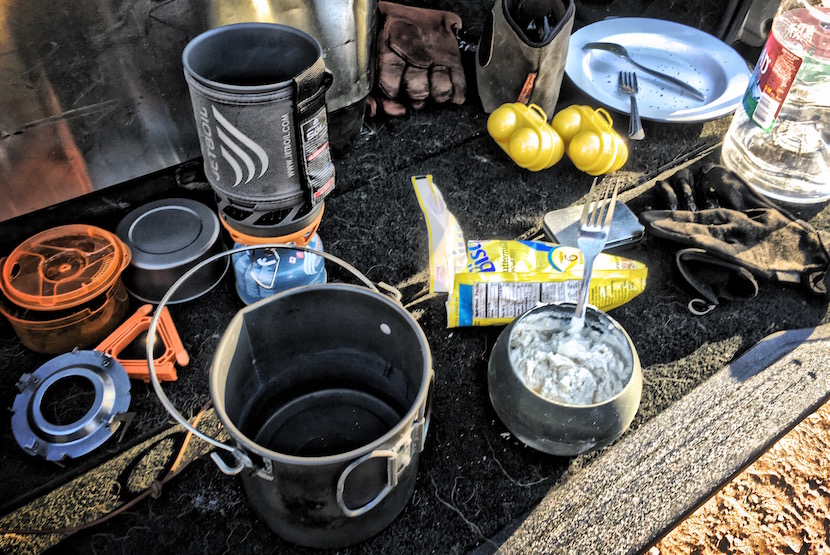
For the equipment list
You’ll need either a medium sized pot with lid, one liter to 1 ½ liters, or a JetBoil –YES! We have made this same biscuit just as easily with a JetBoil. You’ll also need a silicone baking bowl or cup –check on Amazon as they are pretty inexpensive and it just needs to fit inside the diameter of your cooking pot. Look for Silly Feet Cupcake Cups for the JetBoil, or measure the diameter of your pot, we used a Mors Camping Pot, to find your correct silicone bowl diameter. You want to have at a minimum about ¼” of space around the bowl to allow the steam to travel freely all the way around the inner bowl.
*Note: You want to get a silicone bowl with feet or one that is thick. Normal silicone cupcake liners, especially used with the JetBoil, could melt.
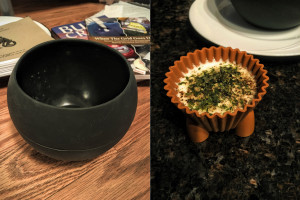
Silicon Bowl and Silicon Cupcake liner with feet
Bushcraft/Camping Biscuit Process
Now that you’ve got your ingredients and equipment, the process is quite simple.
1. If you’re using a traditional pot, build a fire and fuel it enough to get a nice bed of coals going.
2. According to the manufacturer’s directions, add water to your dough and mix well inside the package that the dry dough mix comes in. Stir thoroughly until the dough forms a sticky ball.
3. Using the empty silicone baking bowl for reference, add water to your pot or JetBoil until approximately 2/3 the height of the silicone baking bowl’s height is submerged. If you get any water into the bowl be sure to dry the inside thoroughly.
4. Remove the silicone baking bowl and transfer the dough ball into it.
5. Gently place the silicone baking bowl with the dough ball into the cooking pot, and put the pot’s lid on. Be mindful to NOT let any water spill in over the sides.
6. Place the covered pot onto the bed of coals and let simmer for 20-25 minutes. Do not crack the lid until at least 15 to 20 minutes have passed or you’ll lose the steam pocket that’s cooking the dough. The JetBoils cooking time is a bit shorter, as the cupcake liners are smaller, so check those in 12-15 minutes.
7. Test doneness by poking the cooked biscuit with your finger or stick looking for firmness. The biscuit will NOT be browned as it has been cooked with steam, not conventional heating. Consider the biscuit done when it’s as firm as the palm of your hand.
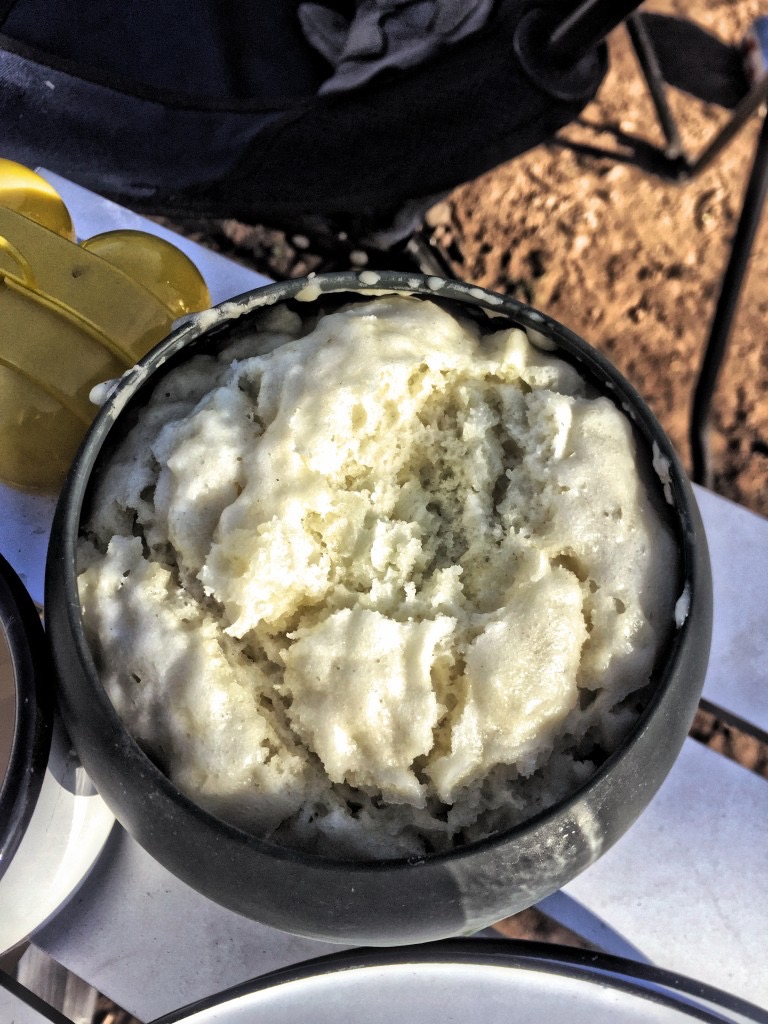
You should end up with a nice biscuit ball in a bowl. The downside to these is that they are not browned. If the moist texture bugs you, it’s easily remedied by taking the biscuit ball out of the bowl, skewering it with a pencil diameter stick and then hand roast the biscuit ball over your coals. In practice this work well, but we usually are too hungry to make the extra effort in browning it up. The upside of fresh warm biscuits is tremendous, and they are texturally they are pretty close to oven baked biscuits, maybe just a tad denser. The fact that we can now “bake” over a bed of coals without a Dutch Oven or folding reflector stove is a huge benefit for the backpacker/bushcrafter. This culinary trick can add variety to your camping experience, and with a little imagination you can really get creative with both main and side dish options –the JetBoil and cupcake liner combo is killer for softboiled eggs!
We have found that the biscuits pair really well with eggs and sausage for breakfast, and any stew, chili, or similar dinner entrée. We’re eager to try Grouse and Dumplings this coming Fall.
We hope you enjoy this quick field expedient technique, and please share your personal results with us if you try it yourself.
Bon appetit!
I am going to try the Jetboil method, I have never heard of it. Have you tried using a Fry-Bake? found at https://frybake.com/. These have been used by NOLS for a long time, and you can even bake pizza in them.