
It’s often called “percussion fire making.” In today’s super high tech world, using a carbon steel striker and a piece of hard rock like chert or flint to start a fire is one of the most satisfying outdoor endeavors one can accomplish. You’ve seen it on pseudo-outdoor tv shows like Survivor or the latest iteration of that Bear guy’s TV shows. They take a piece of steel, striking it over and over against a rock, and frustratedly struggle to throw a spark into some tinder.
If humans have been using this method to start fires since long before even Roman times, why do we modern outdoor types find it so difficult? Honestly, fire is something we take for granted. Using these traditional tools was a daily occurrence for many of our ancestors. It’s not that frequent of a need for us… but it’s also not difficult. Let’s talk about it a bit.
From the science perspective, carbon steel fire strikers work on the same premise as our “modern” ferrocerium type fire steels. Striking the metal against a hard, sharp rock like flint or chert literally shaves of microscopic bits of steel from the striker that oxidize so fast they heat up into the sparks we see. It’s not friction, it’s not the rock – its a combination of the energy of slicing off of bits of steel combined with rust happening at such a rapid rate that significant amounts of heat are generated. I love that part. Science is cool.
What do I need to make fire with flint and steel?
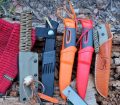
The strikers are the piece we notice first. The steel in the striker matters. High carbon tool steel is required and works well. Iron and stainless formulations of steel not so much. W1 and other tool steels are ideal. The folks that make strikers in their home or small commercial forges use the right stuff, so rather than digging around in your garage to find some, go get a striker from a local or small blacksmith. I’ve purchased quite a few over the years from various places, but have had the best results and service from a specific blacksmith in Kentucky. I’m happy to supply her name and company if you contact me directly.
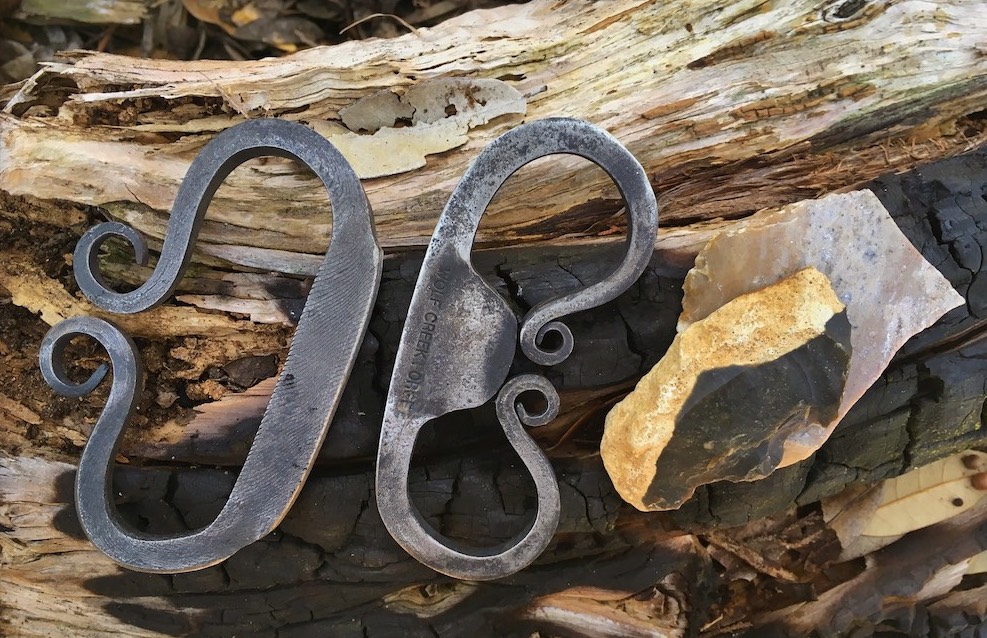
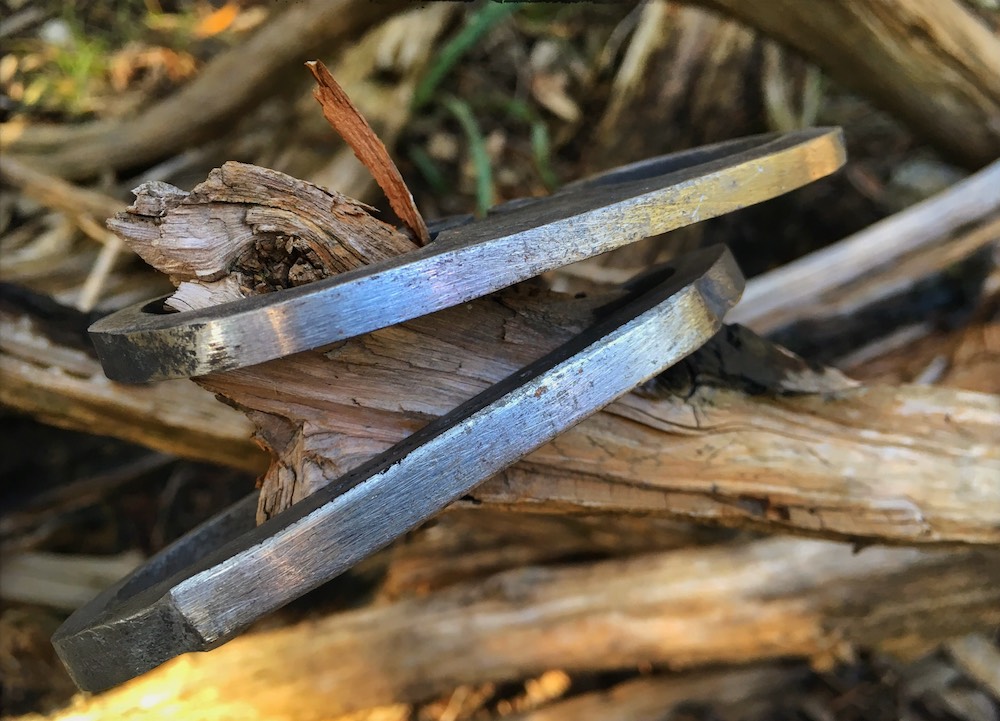
Striker patterns are a personal thing. For me, I want it to work, of course, but I also want it to protect my knuckles and have some sentiment to my roots, so I try to get and give strikers similar to those found in Vikingr graves like those from the Birka settlement. Wait… No, that’s not a misspelling. “Viking” is actually a verb. “The Vikingr went a-viking” is actually the correct uses of the words… but I digress. I choose the striker pattern I prefer for a specific reason. You should too.
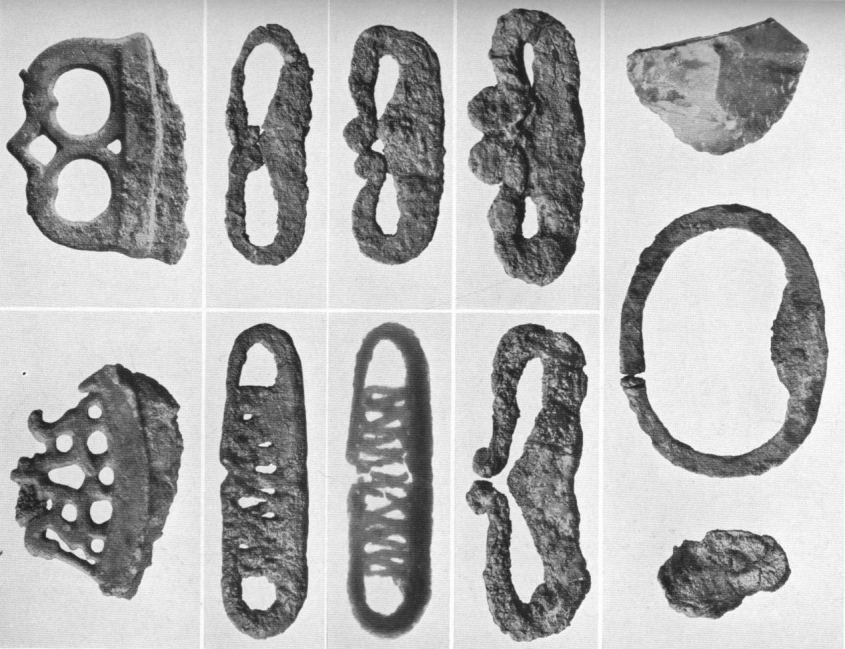
Birka Strikers
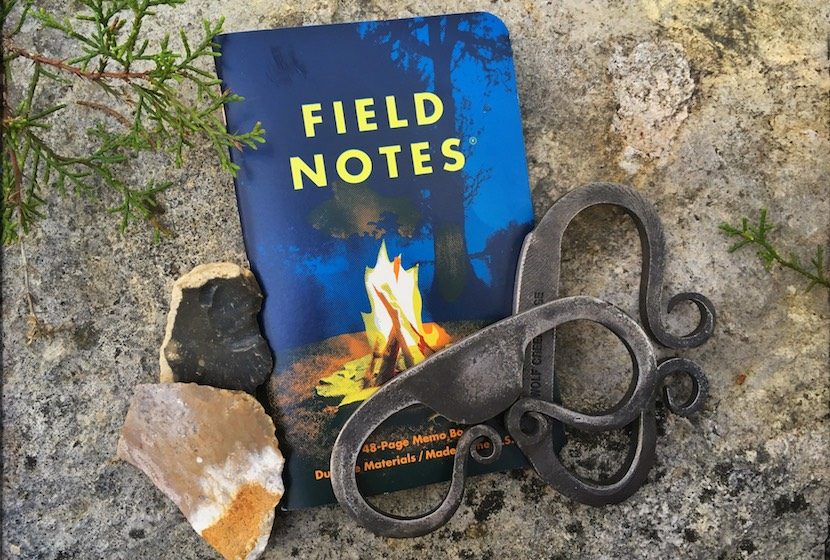
A striker isn’t going to spark by itself. It’s a two-part tool. Once you have a striker, you need a rock to smack. Most often you hear flint named specifically, but other rocks work as well. The rock basically needs to be hard, and able to be shaped to a sharp-ish edge. Chert, quartz, agate, and jasper all work well. It’s up to you. I get my rocks from an alluvial fan in a creek about five minutes from my house. We gather rocks, break them with a brick hammer, and have more than we will probably ever use… but we go get more regularly. Going out to nature to find appropriate rocks to use for this and other tasks is a worthy endeavor solo or as a family in and of itself. Get outside. find rocks.
Here is a phone-quality video I did a few years ago:
It’s a simple process – Get a striker. Go find some rocks. Practice making sparks.
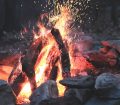
Next time we will talk about how to make fire from the sparks we’ve been making with the ferro rods from the last post, and the striker and rocks from this one. We will put it all together and make it easy. Among other bits, I’ll discuss fatwood, char cloth, and other tips and tricks to make your traditional fire starting more fun and effective.
…and still – If you start a fire for whatever reason or need, keep it only as large as you need to do what you need it to do, keep it under control, and put it out completely when you’re done or leaving. Don’t be that guy.
Can i get the info on the blacksmith?
Thanks for the article.
https://www.etsy.com/people/wolfcreekforge
Could you give me the contact info for the blacksmith in Kentucky? I am actually in Kentucky so would prefer buying local.
Thanks
Lisa West at Wolf Creek Forge:
https://www.etsy.com/people/wolfcreekforge
Thanks for answering those, Alex! Yes, I got my steels a few years ago from Lisa/Wolf Creek Forge. She makes great stuff and of course, it’s always better to support small family businesses! She has the etsy above and also sells on ebay.