


If you spend enough time in the woods you will start longing for the small creature comforts of home.
Spend enough days in the same clothing and you’ll begin thinking about a hot shower and a fresh change of clothes. Eat enough freeze-dried foods and fantasies of home-cooked meals occupy the mind without end.
Sleep enough nights in a cold and wet sleeping bag and your warm comfortable bed will become what you dream of even when you have a hard time sleeping.
Life in the field can be rough, but that doesn’t mean you have to live like a savage! Even Tom Hanks’ character in the movie Castaway took a volleyball and turned it into a companion on a deserted island to have someone to talk to. Sometimes, when you are stuck under that tarp in the pouring rain with nothing to do, you can actually do some work to make your home away from home… well…more homelike.
Recently, I spent some time away from home and sitting around a campfire on a canoe-camping trip with a lot of time on my hands. I looked at the clothesline of my damp PDW clothes and a light bulb went off. Anyone can find a broken off branch to use as a peg to hang clothes on or they can string up a line between two trees to make a clothesline to drape over.
Back at home most of my clothes hang from hangers in my closet, and I recalled a project found in Wildwood Wisdom I could put my spin on.
(If you’re not familiar with this book, it is an excellent guide for the bushcrafter looking to improve their camp life and readiness in the field.)
Making Your Bushcraft Hanger-
The process of creating a bushcraft hanger is relatively simple. All that is required is some cordage (jute if you plan on leaving it behind), a lighter to seal the ends, a knife and some creativity.
First, three forked branches are gathered that are approximately as thick as your smallest finger and about 12” long from the center of the fork to the tip of each end. For our bushcraft hanger depicted here, we used some spruce branches that were cut down from a previous camper and left behind.
Next, the three forked branches are smoothed out by removing additional smaller branches and twigs growing off of them with your knife. This will prevent your hanger from getting caught up on your clothing and accidental pulls in the fabric.
***Something that should be mentioned is to use seasoned evergreen wood instead of recently green cut to prevent sap from getting on your clothes.***
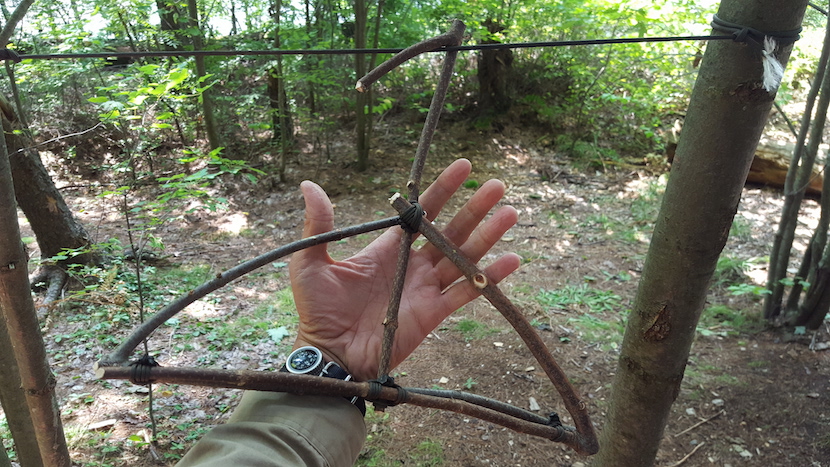
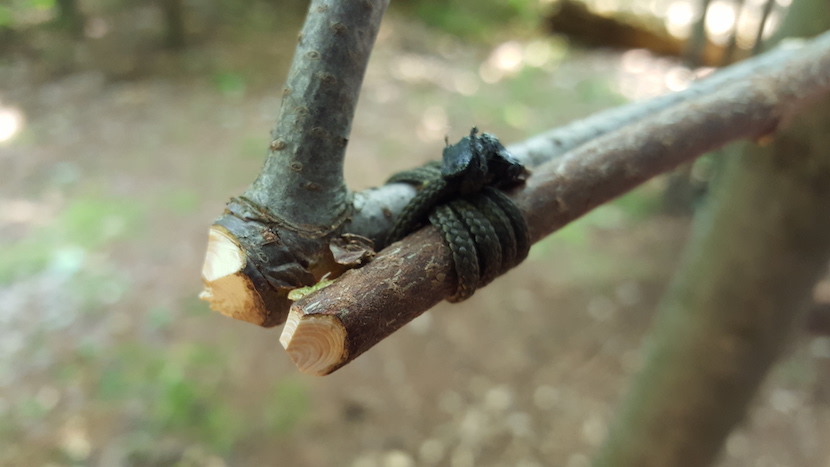
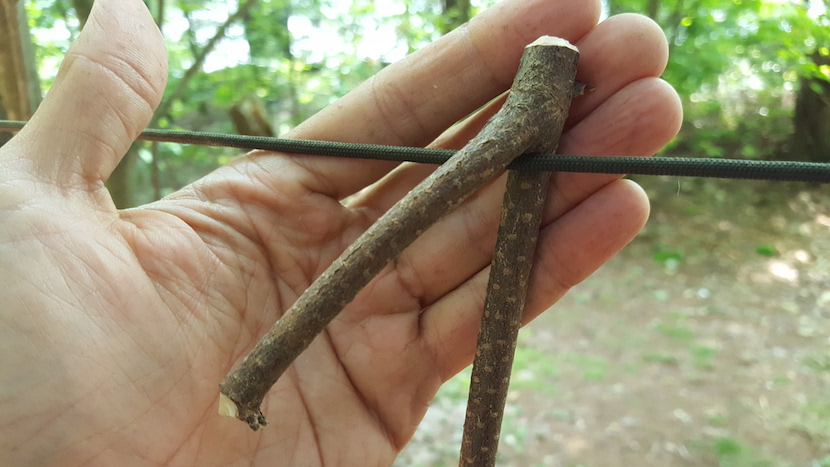
Using the two most similarly sized forks together, the bottom of the rough outline of the hanger is constructed save for the actual hanging hook. The bottom of the hanger is lashed together with wrapping and frapping on each end near the crook of each fork. (refer to the first picture)
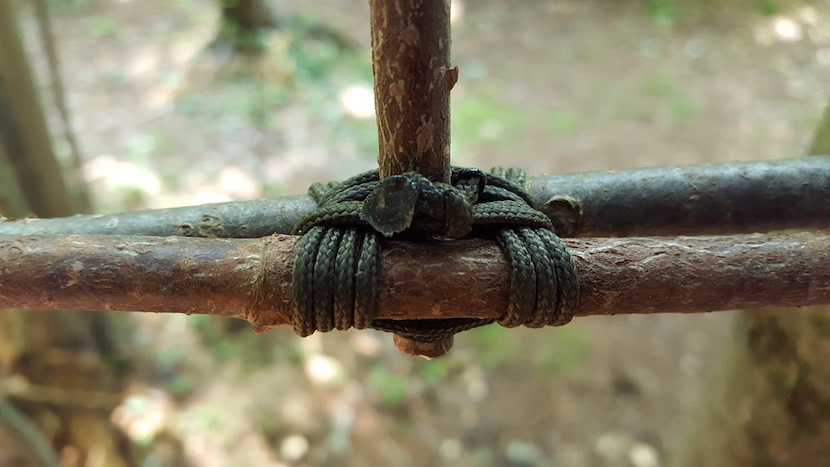
The final forked branch is cut into a “J” and inverted to create the hook. When in doubt, think back to your closet and what an actual hanger looks like. All you have to do is lash the pieces together. The longer end of the last hook is lashed to the hanger body at the upper angled intersection and the bottom horizontal piece. When all the lashings are in place and secured, a lighter is used to burn the ends of the cord to prevent fraying.
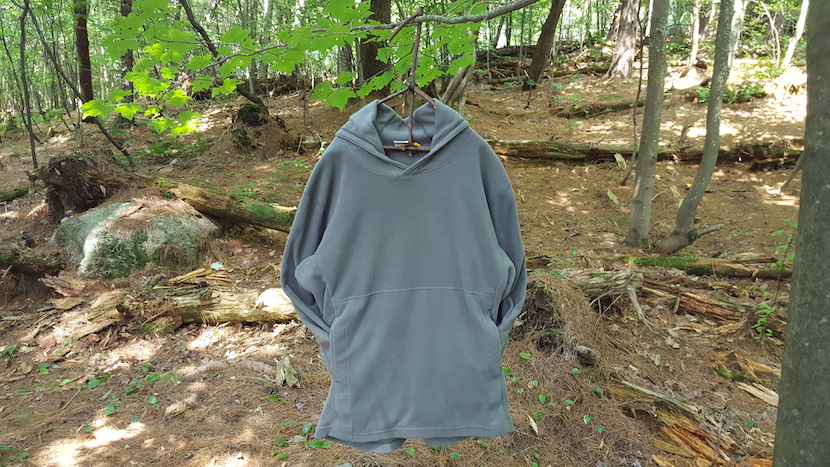
 As previously stated, this type of camp luxury isn’t a necessity. Some might call it overboard but if you’re the only one in camp, who is saying anything? If you’re fine with throwing your clothes on a broken off branch, that’s perfectly acceptable. If not, this project doesn’t take too long and the finished product will make you smile at the end of the day when you need a place to hang your clothes.
Your camping buddies will either be impressed by your bush crafting ability or they’ll say something along the lines of “you have too much time on your hands” while secretly hiding their jealousy they didn’t make one first.
Whatever the reaction, the bushcraft hanger is a creature comfort in when the world, from every direction, can feel very uncomfortable.