
In this article I’ll not only go over some camera setting and composition tips, but also encourage you to get outdoors and share a moment in time during a visit to a National Park, a roadside stop on the way to a family camping trip, maybe some nice foliage or an interesting animal spotted during a hike. There are so many subjects to take photos of to share with others. Here in the United States we are lucky to have a large number of National, State, and Local parks and preserves you can visit. There’s approximately 58 National Parks alone, not including what’s available in your local state. Within these park systems are miles of trails and areas to explore with numerous types of terrains. Also within these parks are various plant and animal species. So when packing for a day trip or for a week long excursion, pack a camera or bring your phone along with you. Because you never know, maybe sharing a photo of the place you have visited, or currently visiting, might encourage someone else to go visit that location and create a lasting memory of their own.
Take only pictures, leave only footprints
***Danger Alert: Please be careful when photographing some of what nature has to offer. Some things like to bite, or worse…. Look into what animals might be in the area you will be visiting, additional hazards including some poisonous plant life, terrain and weather conditions, and be respectful to protected areas that are closed off to the public. Also be sure to pack enough water and food supplies you may need while on the trail.
Now some personal insight, tips on using your camera, and photographing different subjects:
Auto Mode
Most cameras and camera phones have an “Auto” setting which makes taking a photo easier, point and click=simple. But is the final photo what you’ve envisioned? Try to take time and compose your shot. When using a camera look through the eye piece and see if your lines are nice and horizontal or vertical, pay attention to lens flare (small light orbs that may distract from your subject), if you’re taking a photo of some family members but they are all not looking at you try a fun word like “ice cream”, also try taking photos at different angles because just a slight difference will bring a whole different composition you may like more than the other.
Subjects
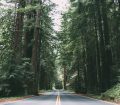
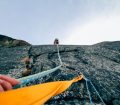
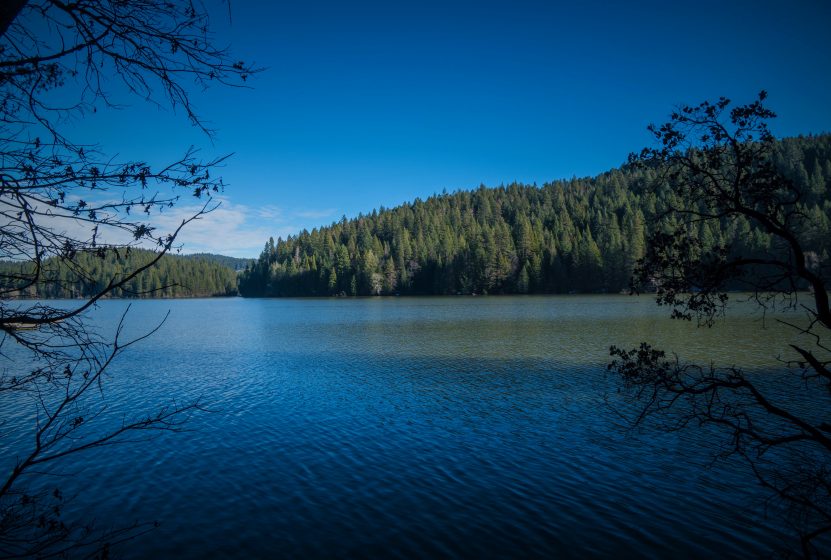
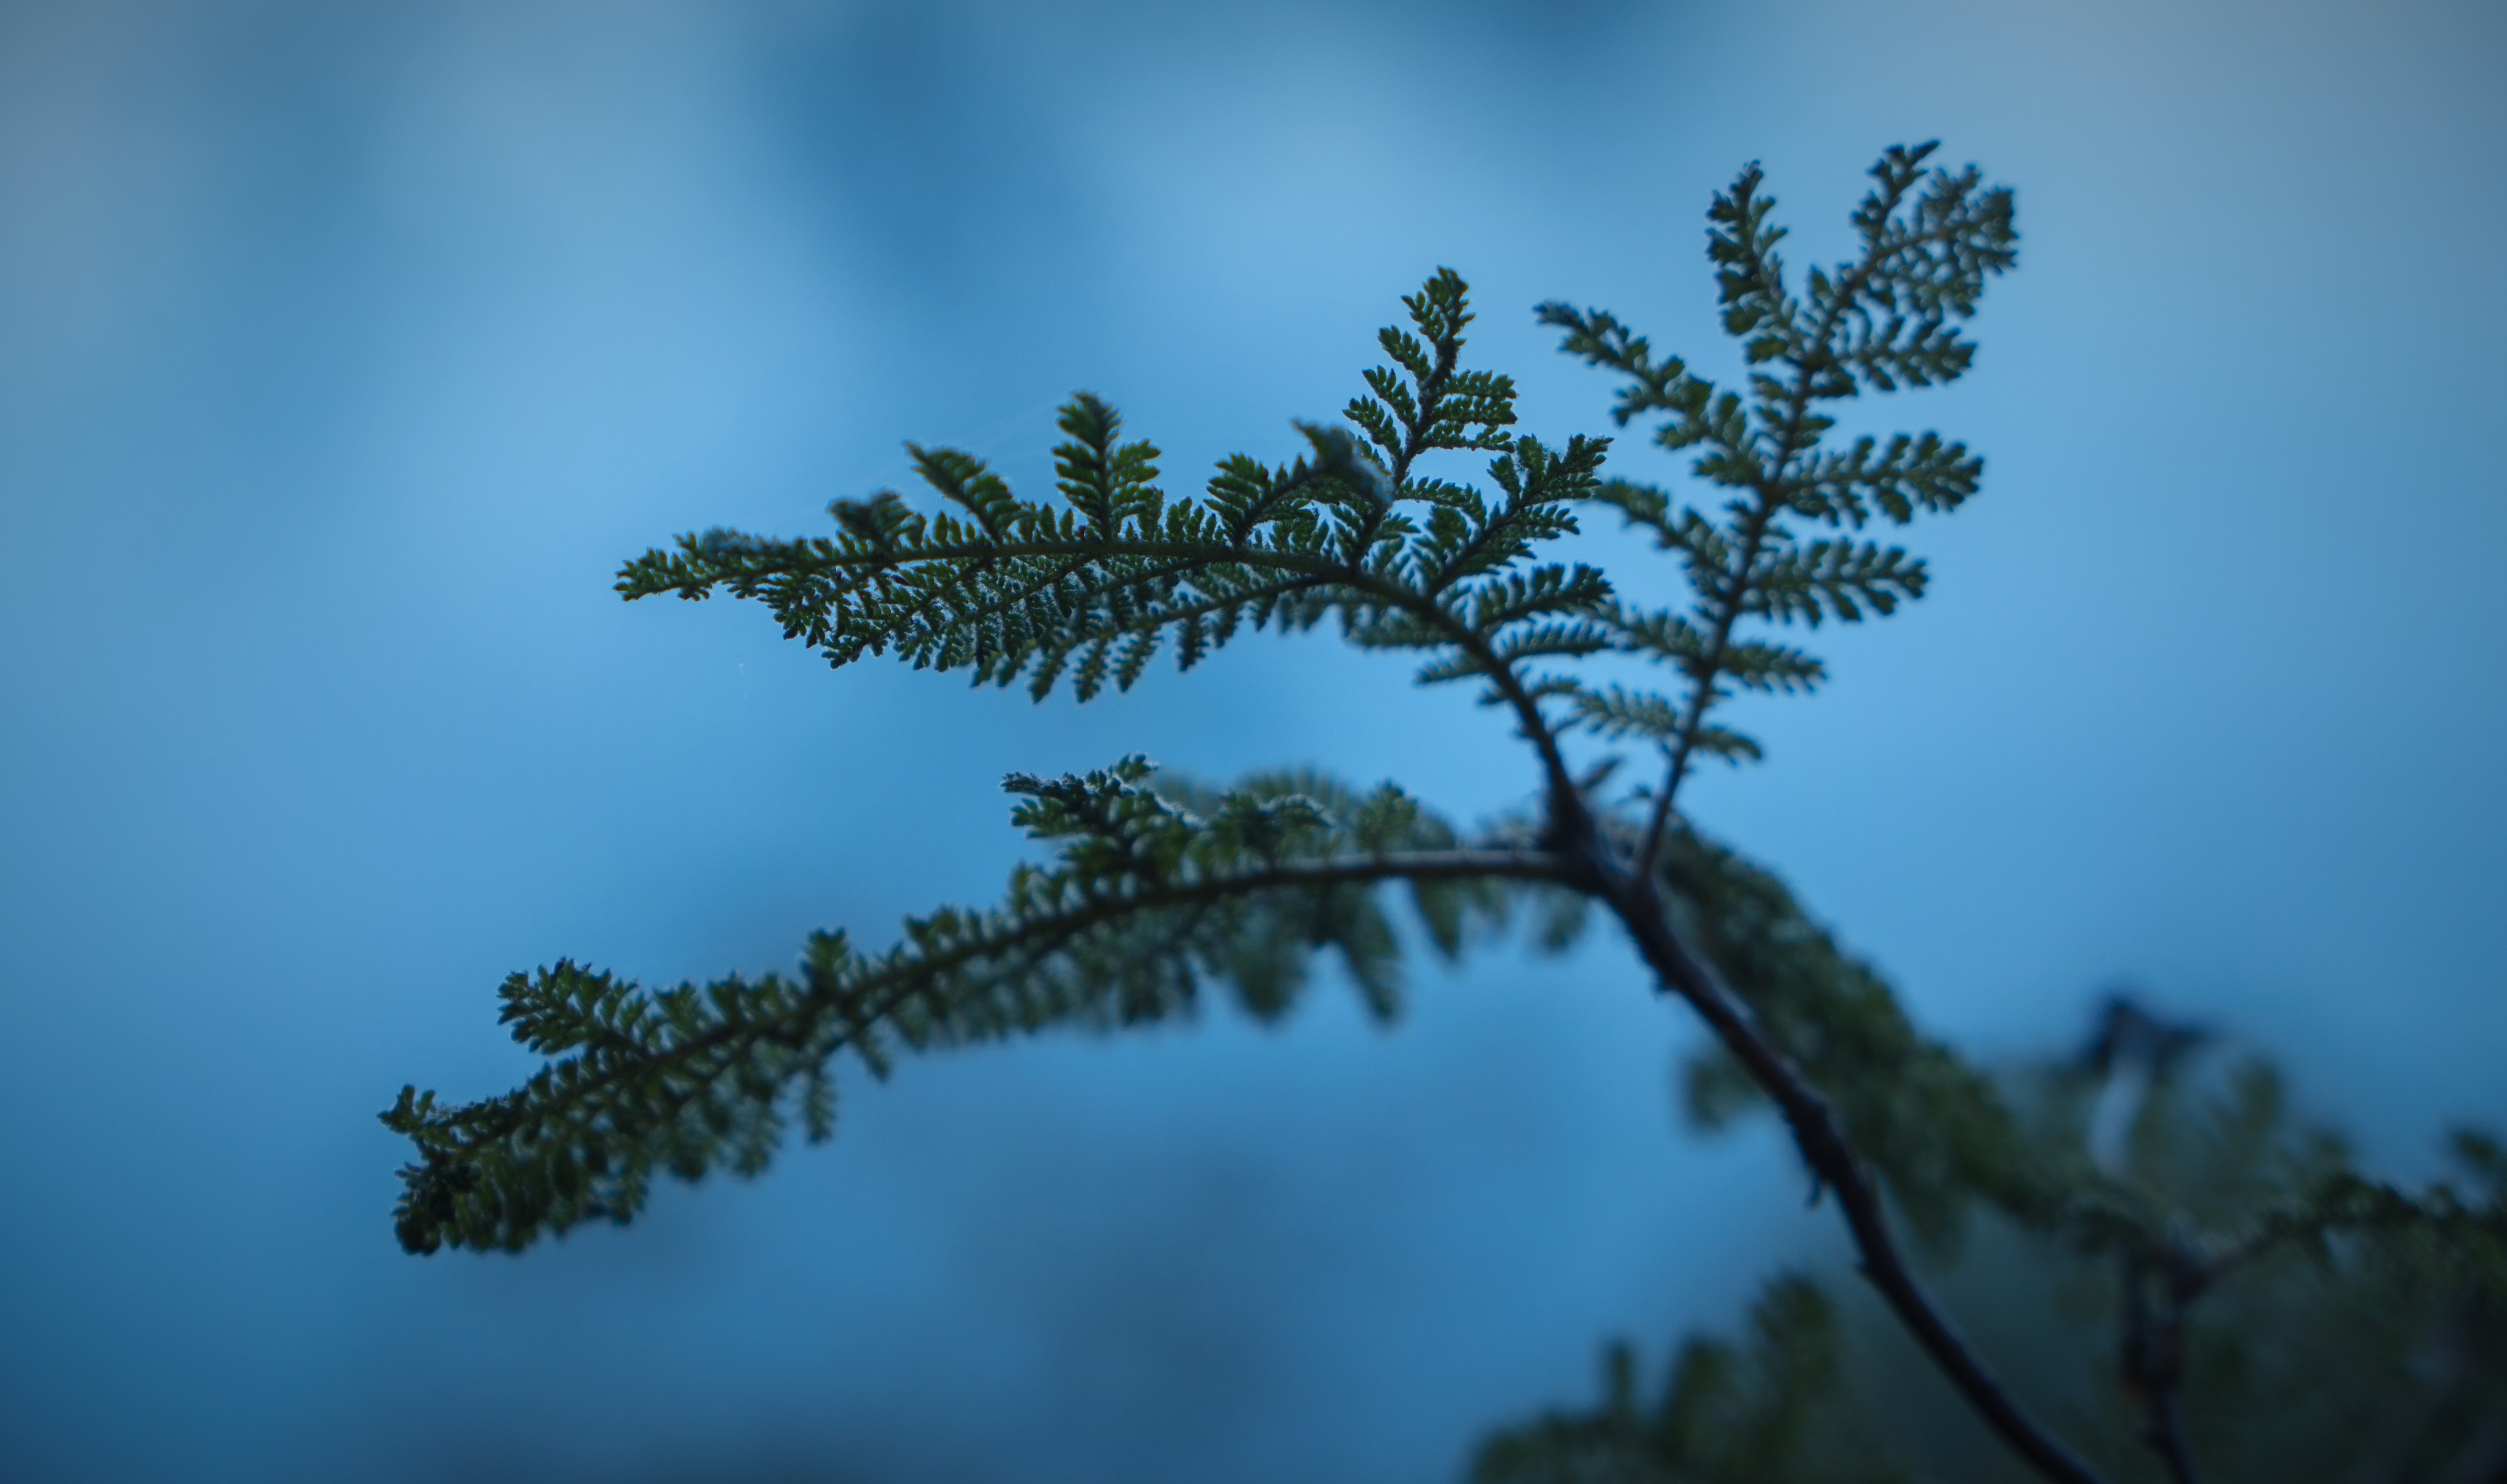
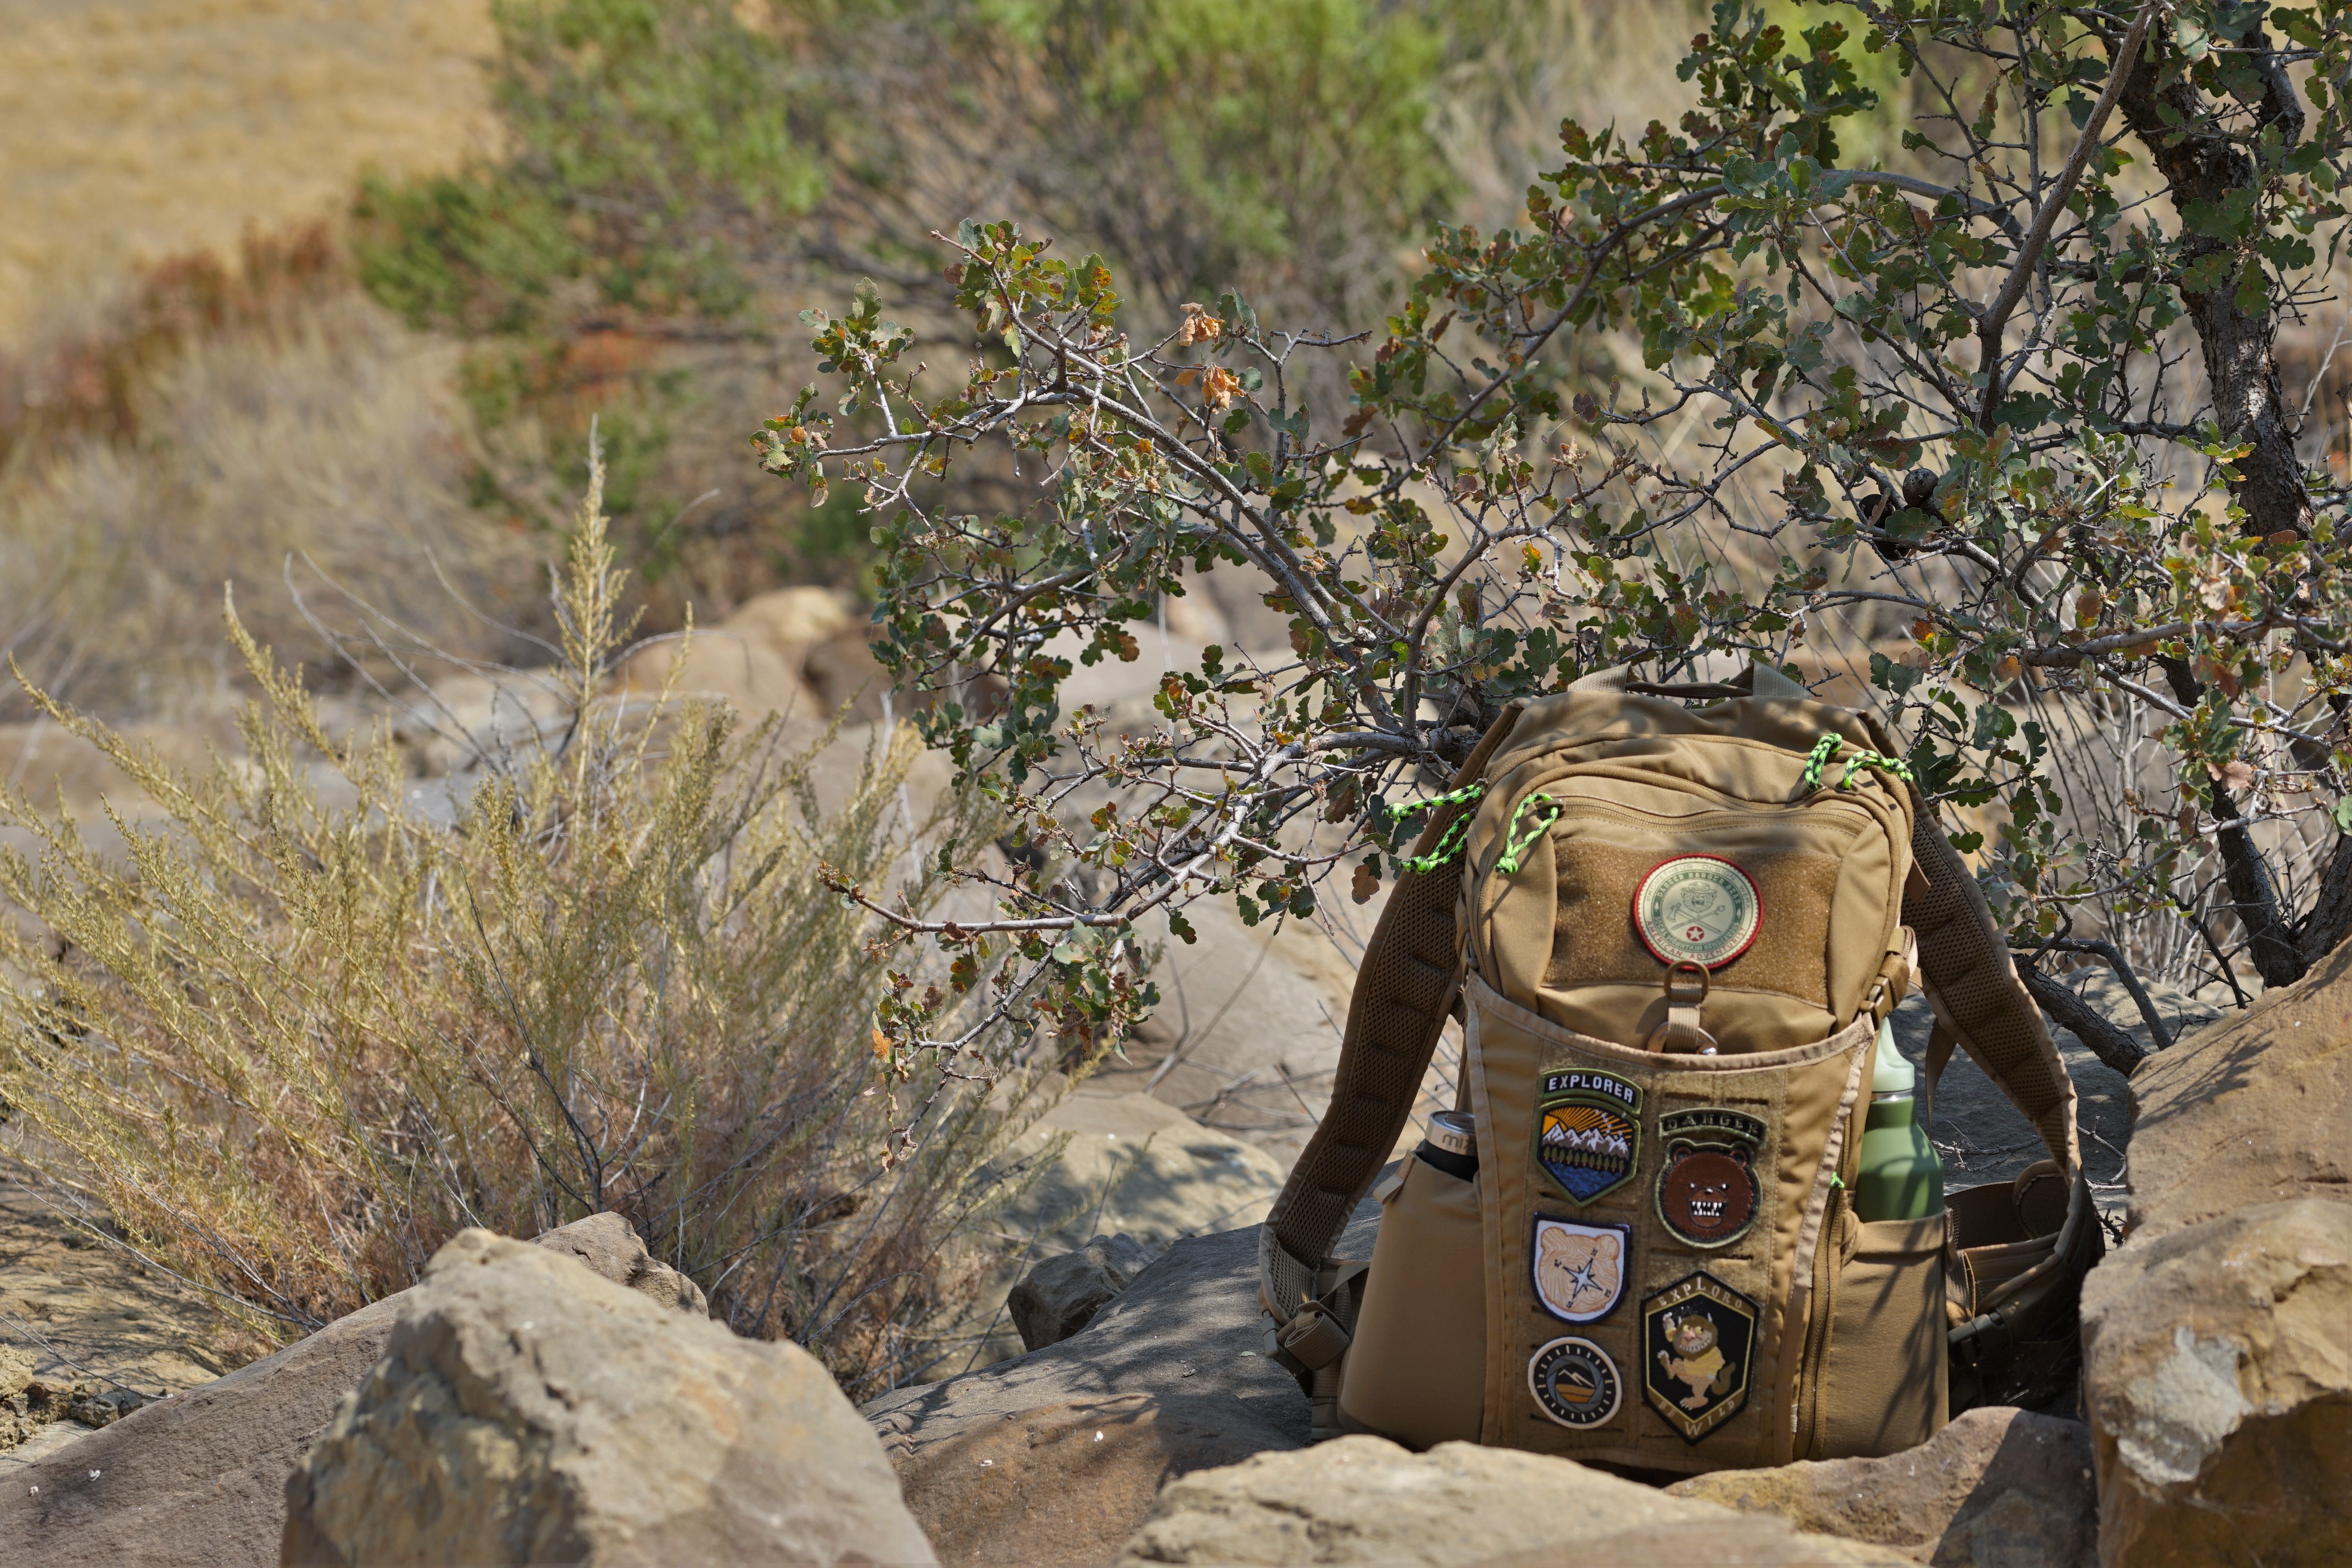
The subject may be your kids during a family hike, a beautiful landscape in a National Park, or it could be a cool piece of gear that you want to share on social media. No matter what the subject is, it’s getting away from that weekly routine and enjoying life outside the box. Some of the best advice a person that was very dear to me once said was, “Take your time and capture the moment”. I do my best to portray this lesson in my photos today. Enjoy your surroundings, explore, take your time, and click away!
Manual Mode
Shooting “Manual” can be overwhelming at first but once you get some basics down you may find having control over your camera settings can make your photos come out even better. Day, Night, Low Light, Day Time, In/Outside, etc your camera settings are going to play a major role! Here are some common types of settings (Note: Not all cameras are the same so refer to your user manual or search online for proper ways to change settings on your specific camera).
F-Stop/Aperture
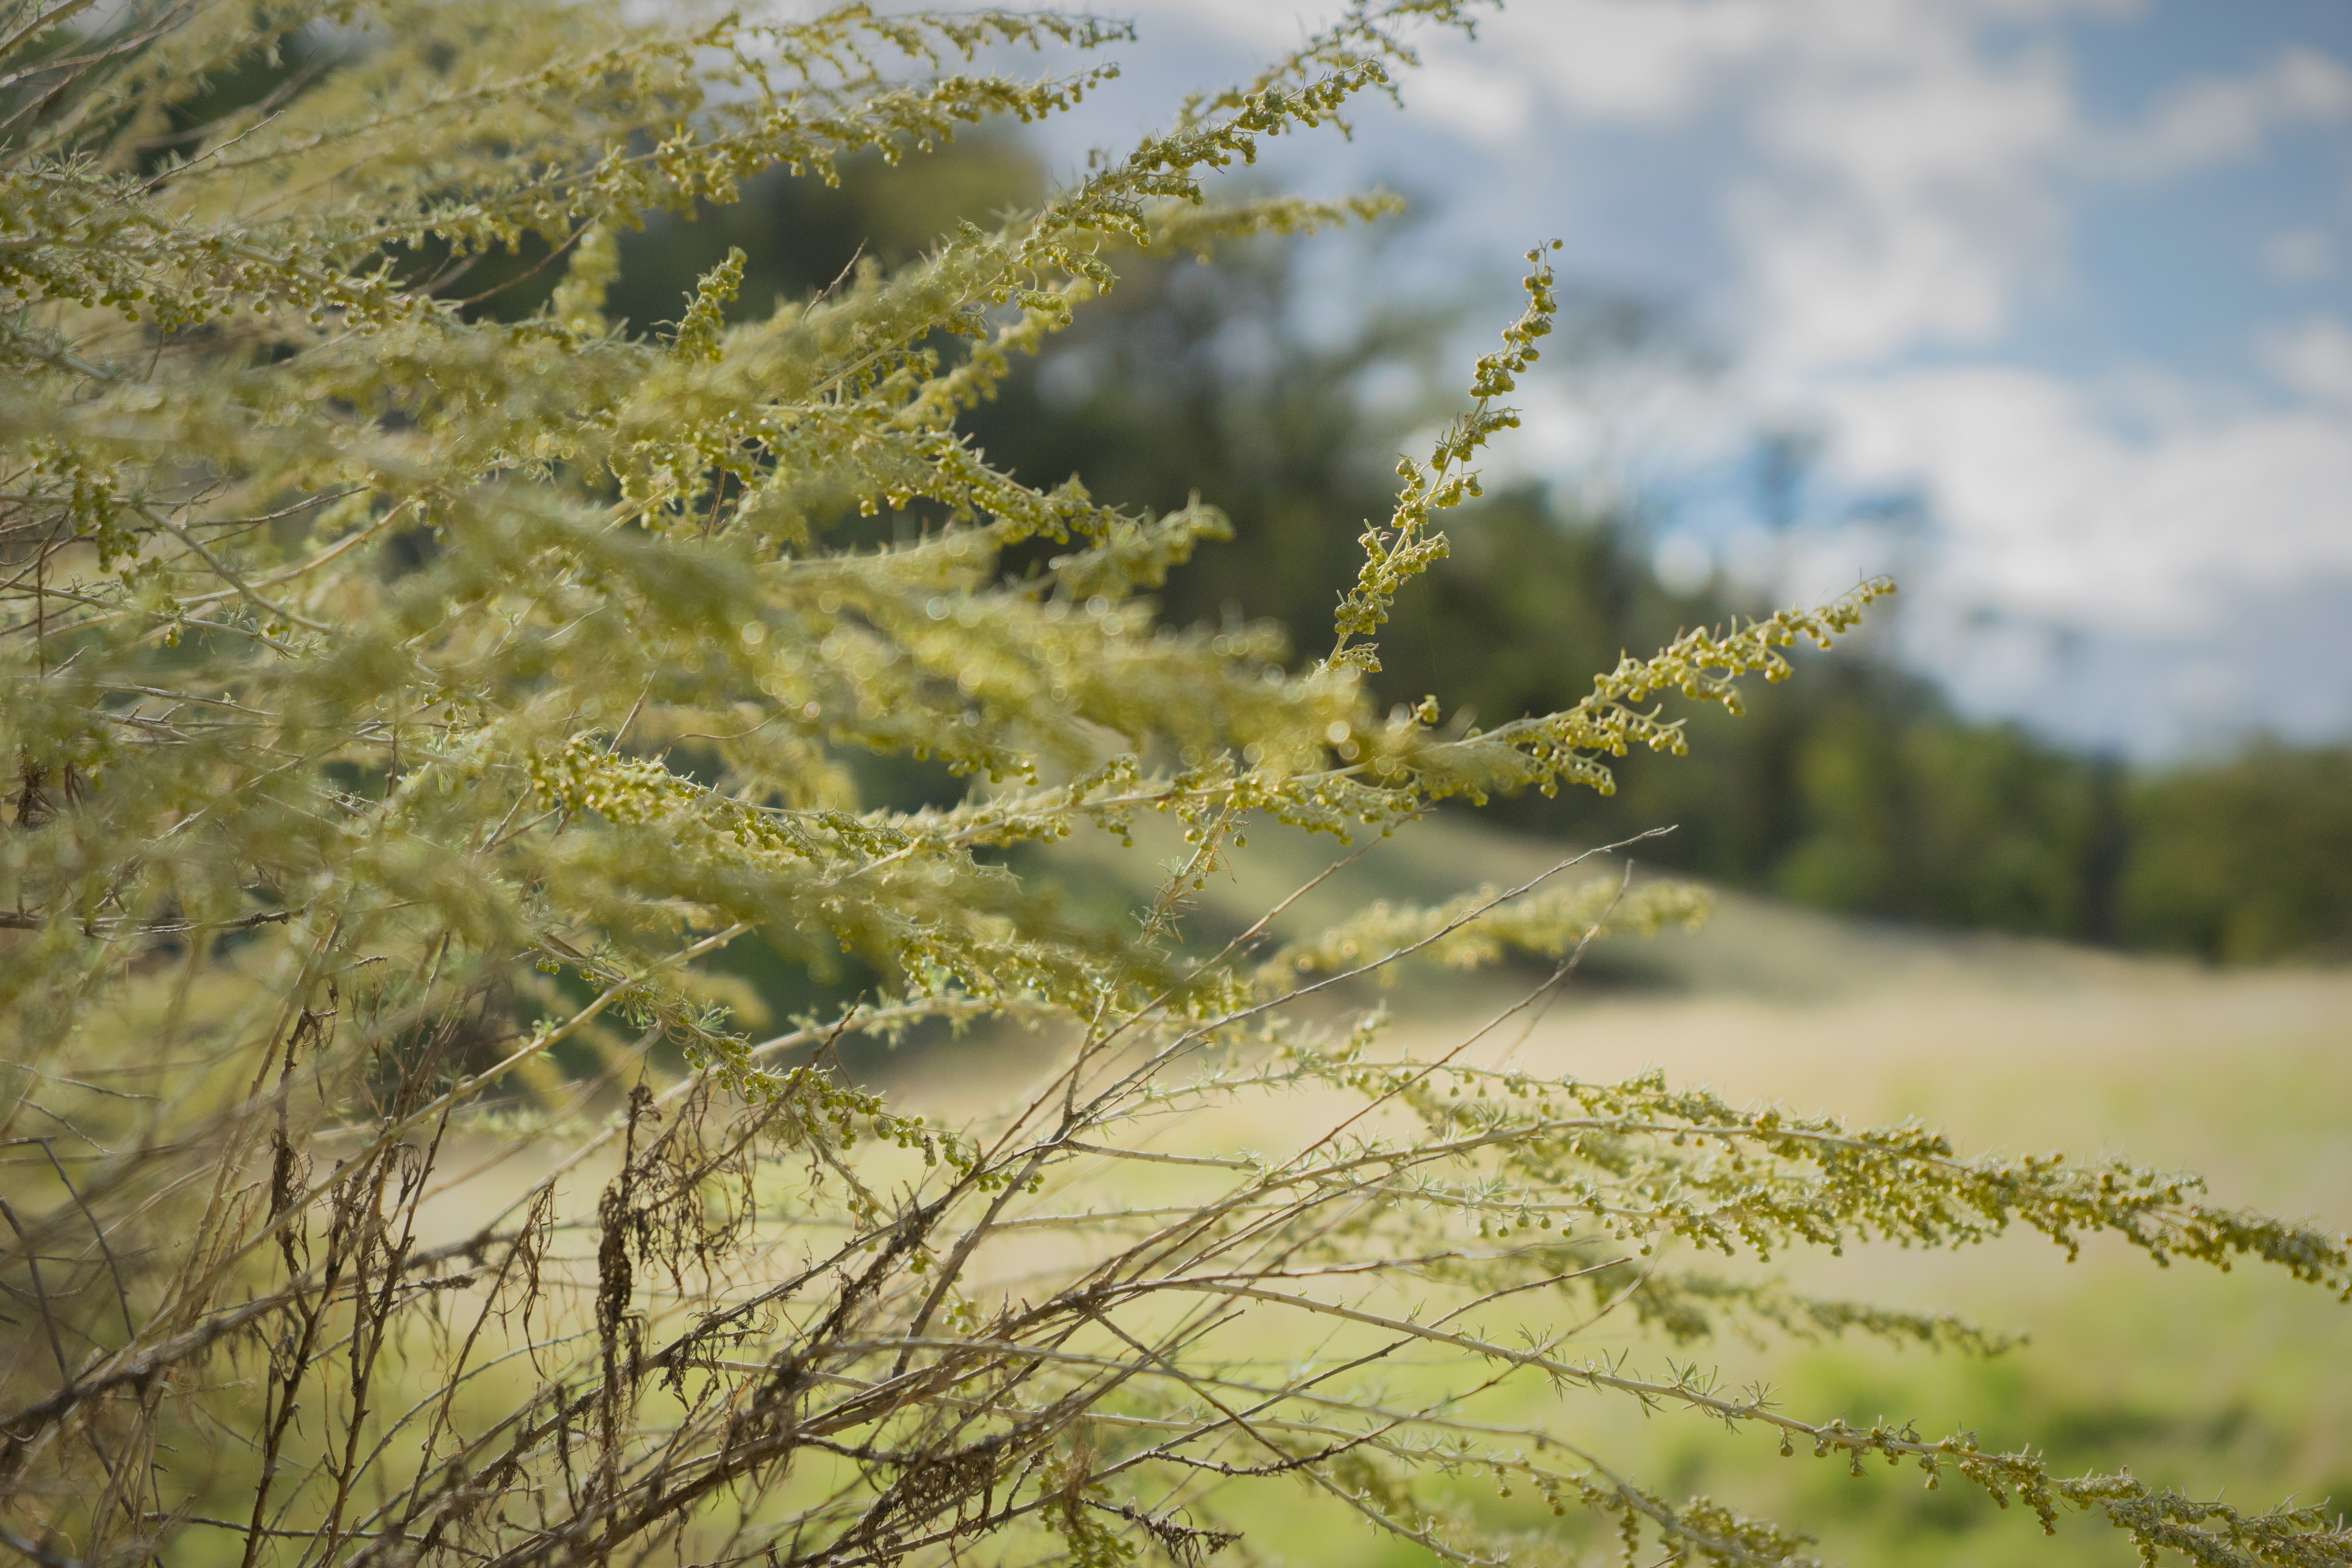
This setting refers to how open/closed your lens is to gather the right amount of light. Settings will read f1.8 or f4-f22. With your F-Stop setting the lower the number (f1.4) the more open your aperture is, the more light the lens gathers. Lenses that have this low of an F-Stop work great for low or natural light conditions as well work great for night photography.
A higher F-Stop (f10-22) works better for brighter conditions as the lens opening will be half way open to nearly closed. Brighter conditions, during the day, bright studios, or lighted product photography, these F-Stop settings work best.
ISO:
ISO is the internal sensor of your camera’s ability to gather in light. These settings can range from 100-10,000+ all depending on the camera you own. This setting will coincide with your F-Stop. A higher ISO setting will allow your camera’s sensor to gather more light (better for low light) where a lower setting your camera’s sensor will gather less light (better for brighter lighting).
Shutter Speed
Shutter Speed settings refer to the time from when the shutter opens till it closes and is measured in tenths or hundredths of a second. A quicker shutter speed (1/125 a sec) works best for trying to capture a subject on the move. A slower shutter speed (1/2 sec) works best when trying to capture a subject in low light or a subject that can sit still. Have your seen a photo of a smooth ocean or a silky waterfall?
Here’s a tip for that Long Exposure shot: The longer the shutter speed the longer your camera’s sensor is able to capture a subject. Check to see if your camera has a “BULB” setting, this will allow you to control your shutter speed using a remote shutter release (corded versions works best). Set up your shot and hold the shutter release button (start at 30 seconds) and see how your photo turns out. I’ve found a 1-5 minute shutter speed has worked best for my camera for either water landscapes or night photography.
Another way to slow your shutter speed if your camera does not have a “BULB” setting is via an ND (Neutral Density) filter. An ND Filter limits the amount of light your lens and camera are able to gather in turn slows down the shutter speed. There is numerous online references on the subject of Long Exposure and use of an ND Filter.
A Few things to add: Take some notes with what camera settings you are using and your location as you may want to explore it again during a different time of the day. You may have heard the term “the golden hour” this refers to the time of day when natural lighting is the almost perfect, from when the sun is just starting to set till it’s almost no longer in view. But remember to check weather conditions as the “perfect natural lighting” is not going to be present during a rain storm… Even if you’re not out during the golden hour, get outside, enjoy nature, take some photos, and share some memories!
Thank you for reading and like and follow Prometheus Design Werx and Danger Ranger Bear on Instagram and tag some of your favorite photos enjoying the outdoors!
Prometheus Design Werx on Instagram
Danger Ranger Bear on Instagram